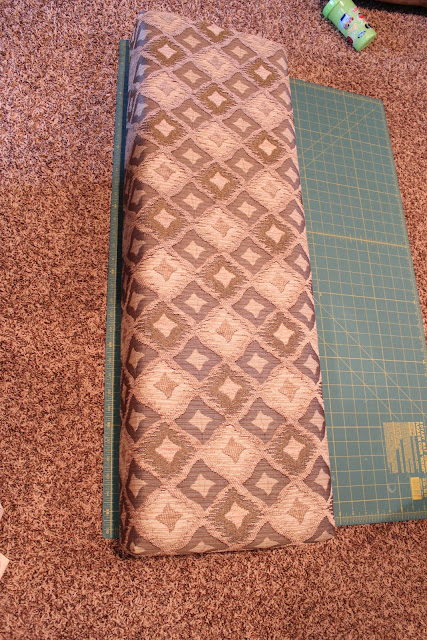
So yes, these cushions:
From this dinette:
Five cushions to recover, including two rather oddly shaped triangular corner cushions. Hoo boy. This is gonna be a big job.
First off I took off the old covers and measured every single bit of them to draw up my cushion patterns. Then I cut out the flat panel patterns from the chevron fabric.....taking pains to make sure the colors and zig-zags lined up appropriately with the other cushions. And making sure the fabric wasn't upside down.
Because if it IS upside down you may waste a good yard or so of fabric. {Ahem}
I had to seriously muscle the foam into some of these covers but wanted to make sure they were a snug fit. I bought a cover button pack and covered them in parts of the chevron fabric. I used a long, upholstery size needle (see pic) to thread the button strings through the thick foam. Once again, lots of muscle used! My forearms were super sore the next day!
All in all I was very pleased with how these came out. MUCH more fresh and fun. Here you go, the finished dinette makeover:
And the before/after side by side shot:

Quite a difference, right!?
Next up: the dreaded COUCH project. OY.
Amanda - Vintage Dutch Girl
Check out all the posts from this Travel Trailer Makeover Series!
- Part 2: The "before I tore everything apart" Tour
- Part 3: Bright Bold and Beautiful Fabrics
- Part 4: Wallpaper removal, A Dismantled Trailer and New Side Curtains
- Part 5: Cornici Recoving!
- Part 6: Dinette Cushions Madeover!
- Part 7: Couch Slipcover
- Part 8: Master Bedroom and Privacy Curtains
- Part 9: Bunk Beds and Windows


